-
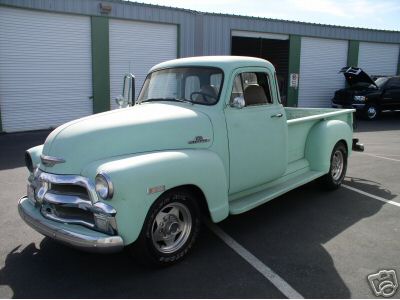
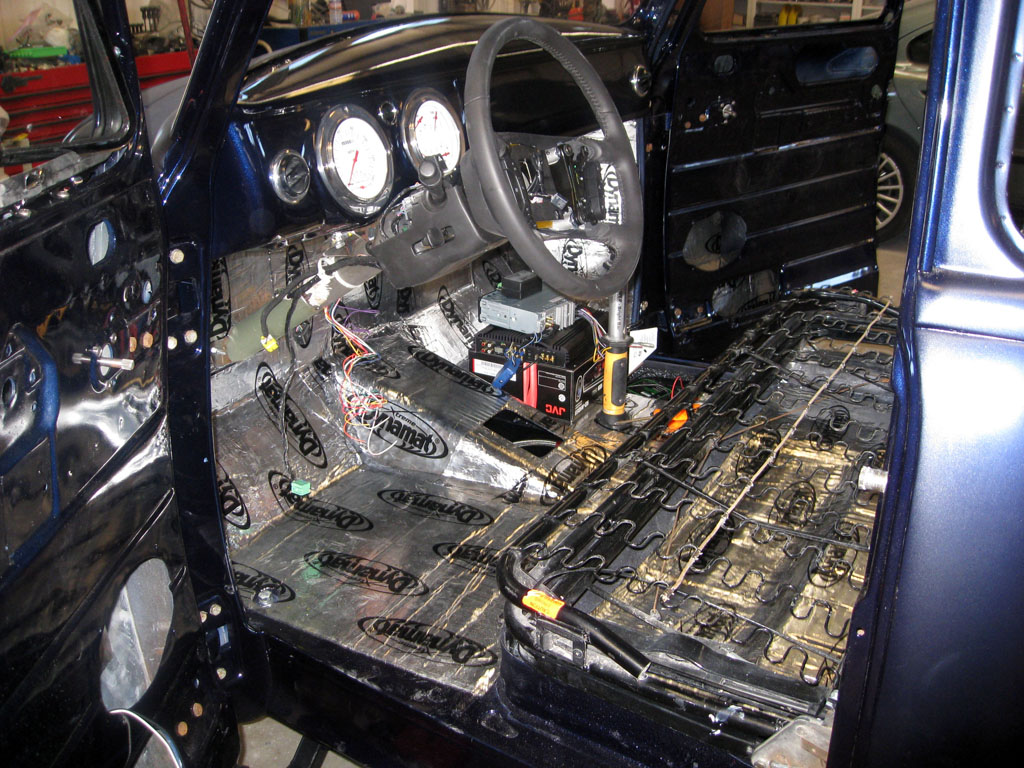
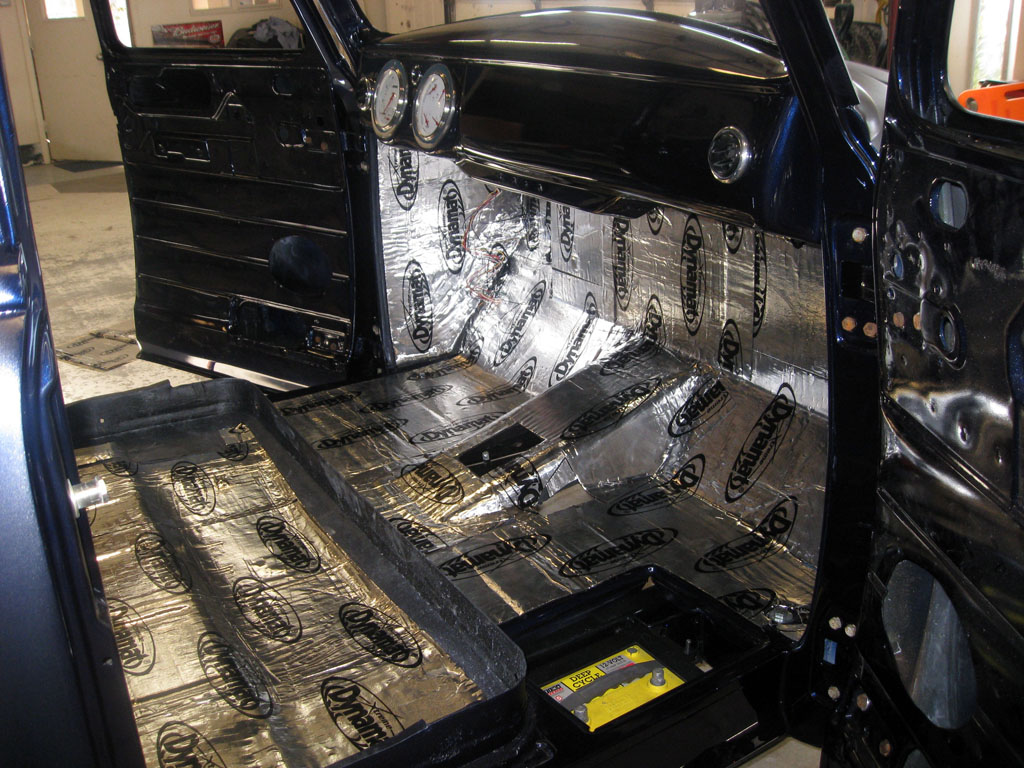
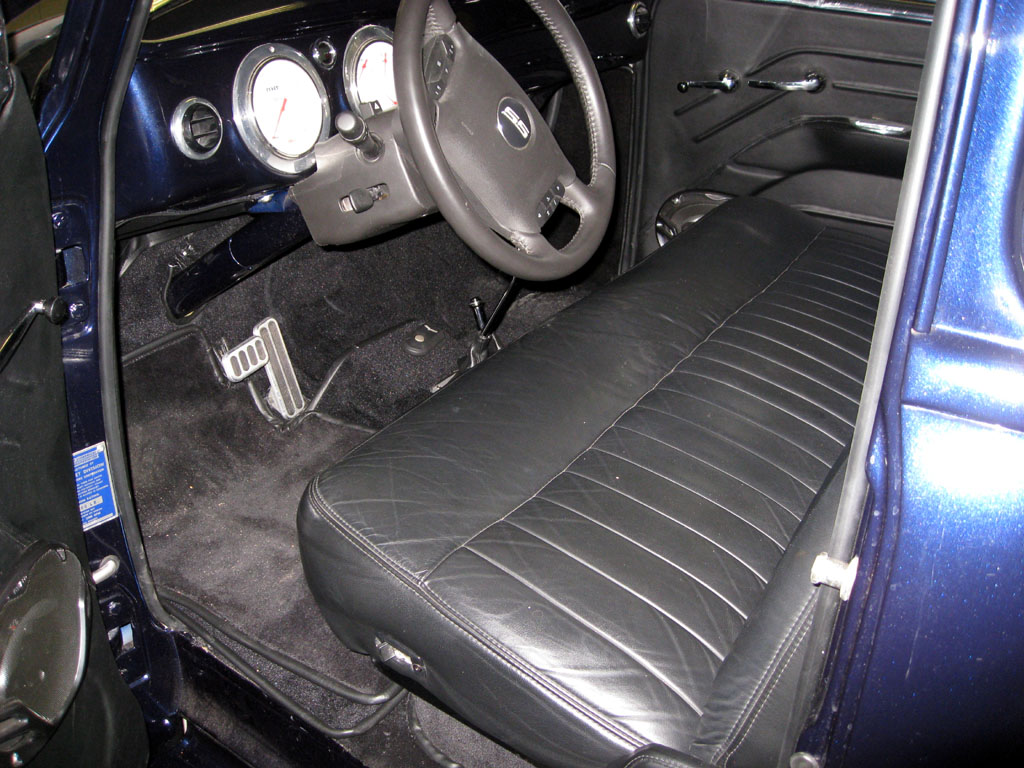
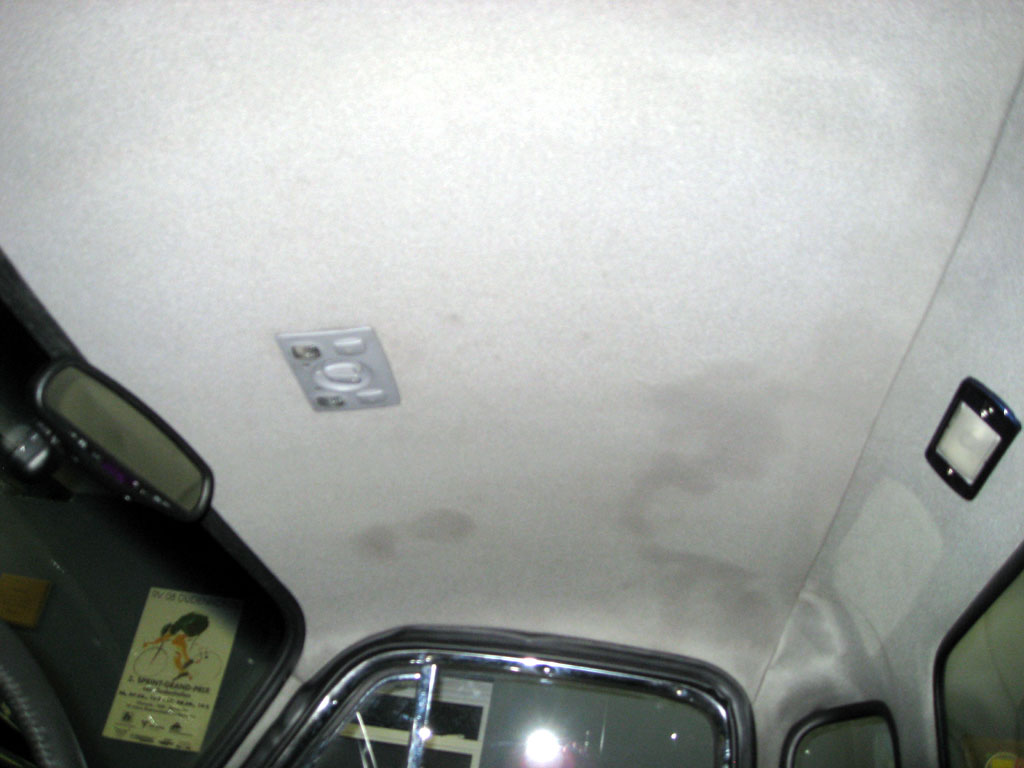
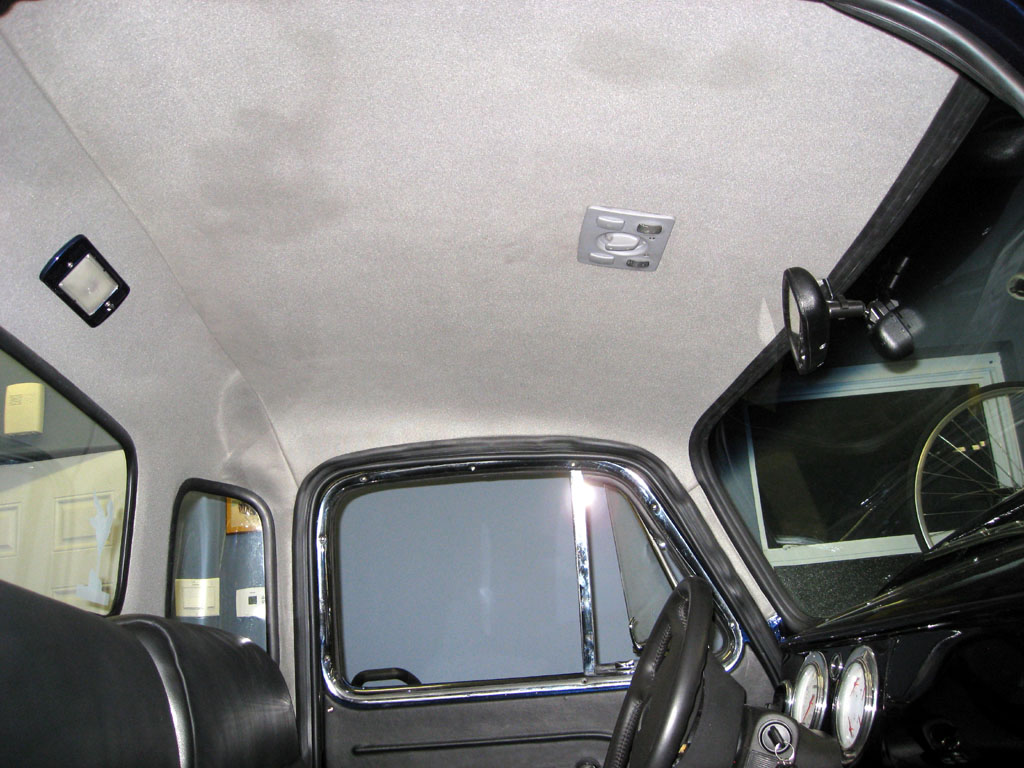
Interior
- will be two-tone. black for
the seat and lower half of the cab and gray for the upper portion.
Painted dash (to match the exterior color) and column/wheel combo as
well. Compliments of Seatco
-
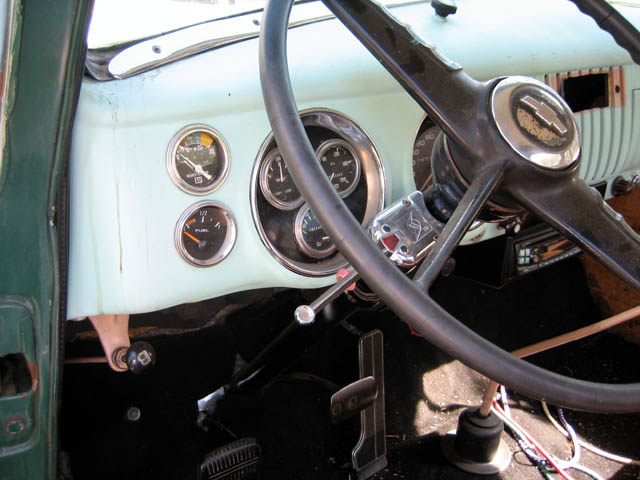
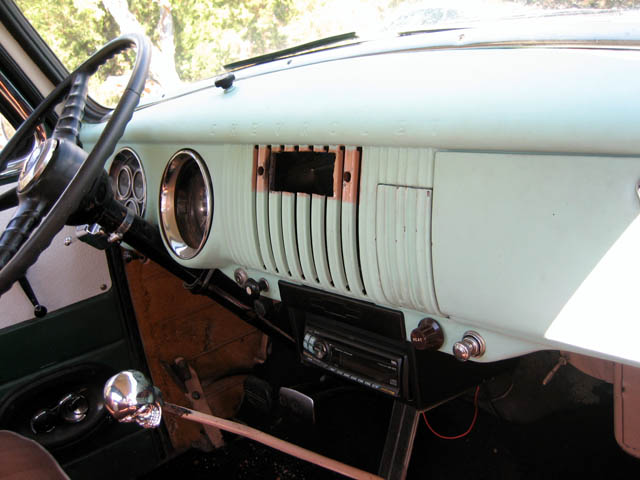
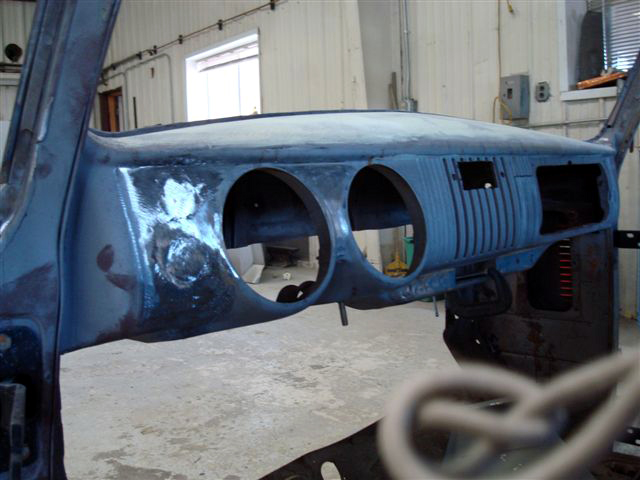
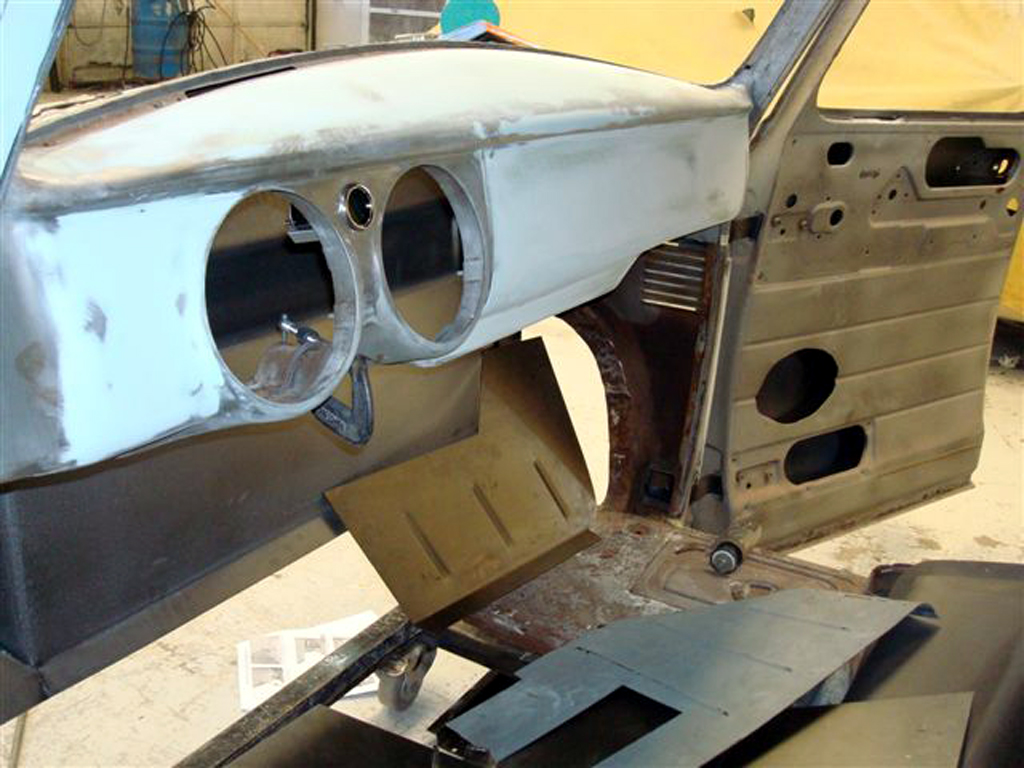
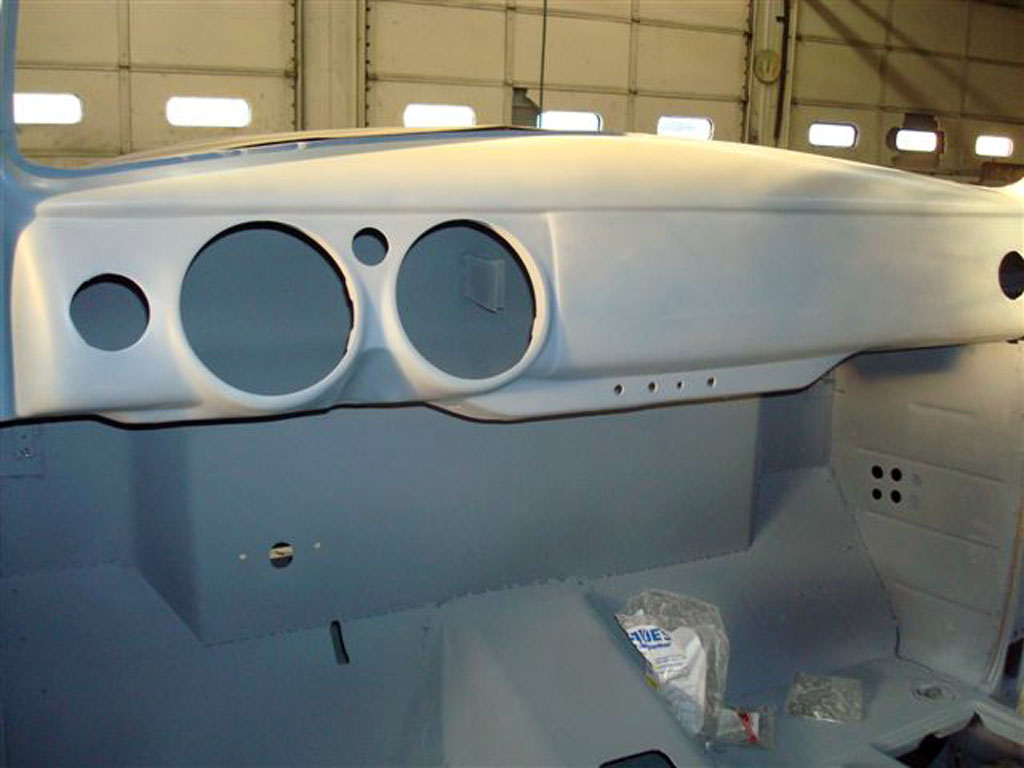
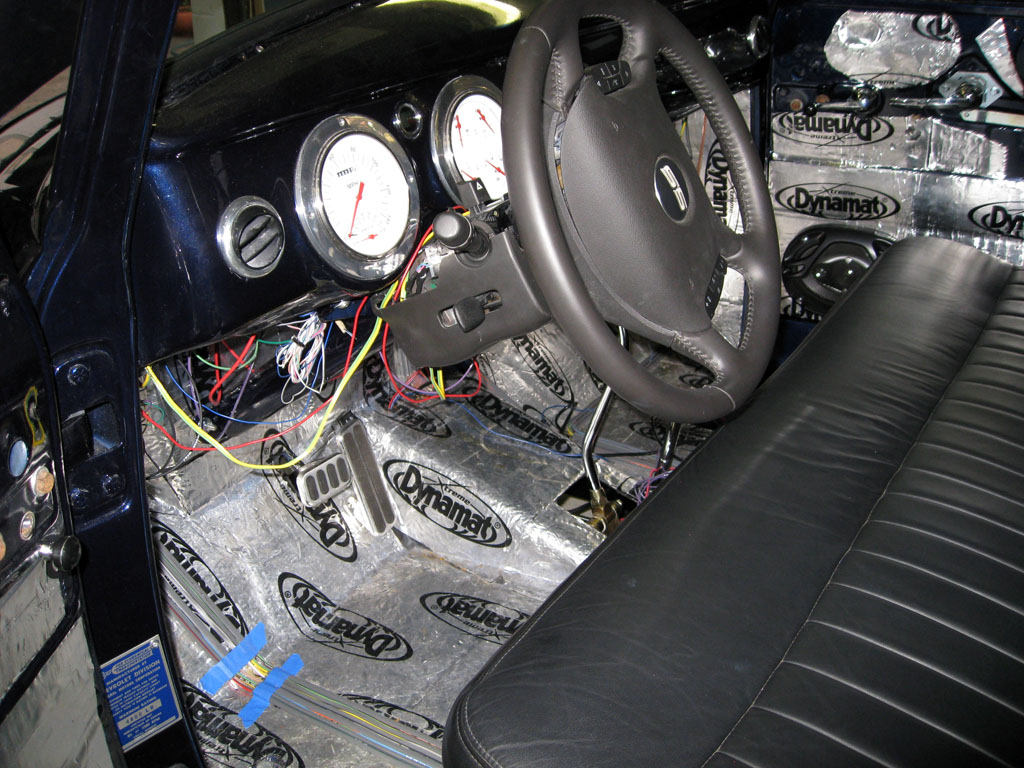
Dash
- I want to
"smooth" it. There should not be any need to have
knobs on the dash, as all the important controls will be have been
incorporated into the steering wheel/column. But if needed, I
will use Ron Francis knobs, and probably use a Ron
Francis
wiring
harness too.
-
Gauges
- currently leaning towards the
White Hot
Series (with red pointer and back light)
Speedtachular set from
Classic Instruments
and a round
Dakota Digital indicator
for the shifter. It also has turn signal, high beam
and cruise control indicators as well..
-
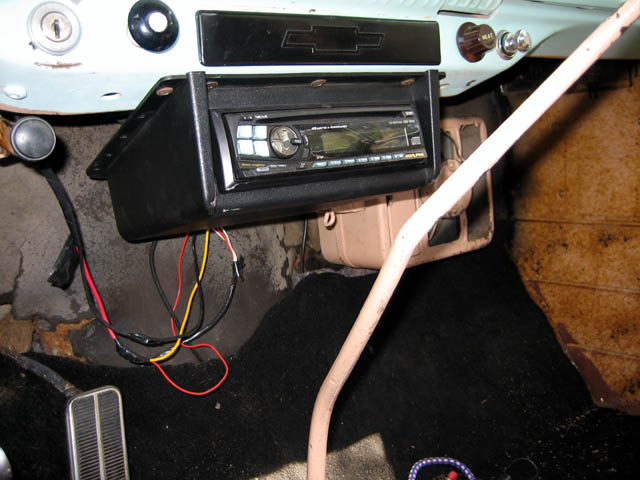
Audio system - still got a few ideas.
As everything depends on the steering wheel/column combo, I need to
find an appropriate adapter that will work with a given aftermarket
head unit. But everything will be out of plain sight.
-
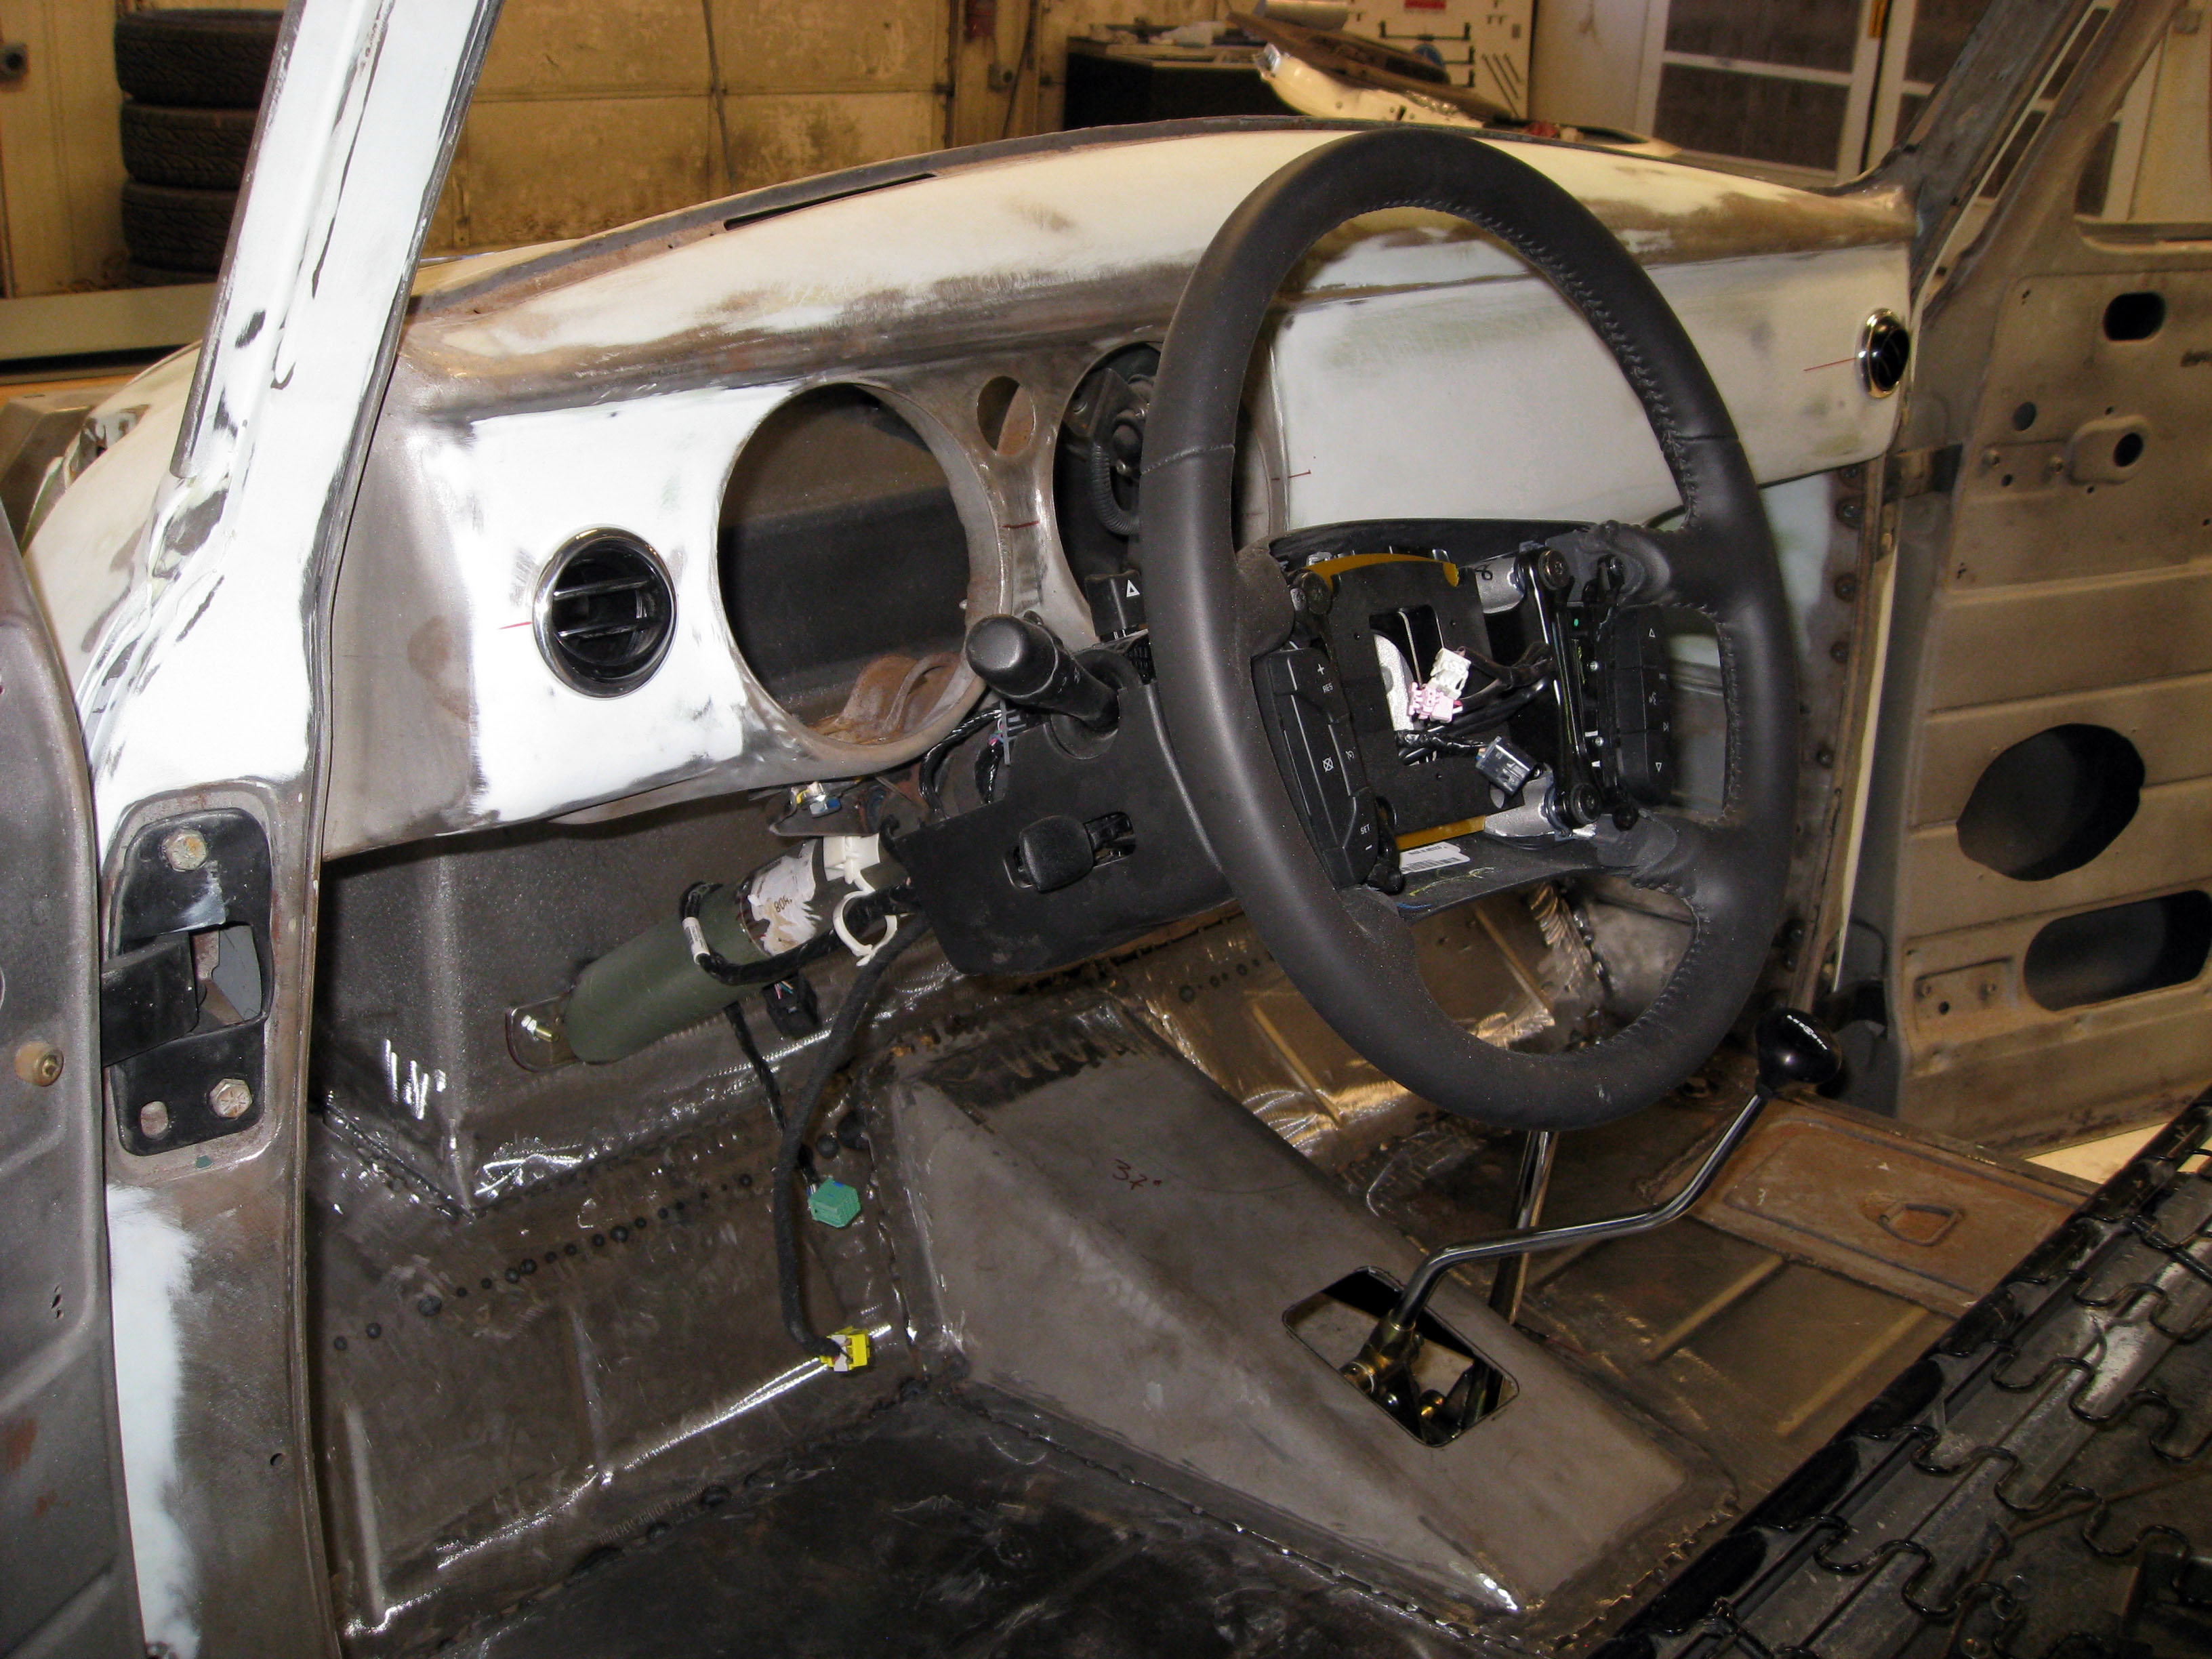
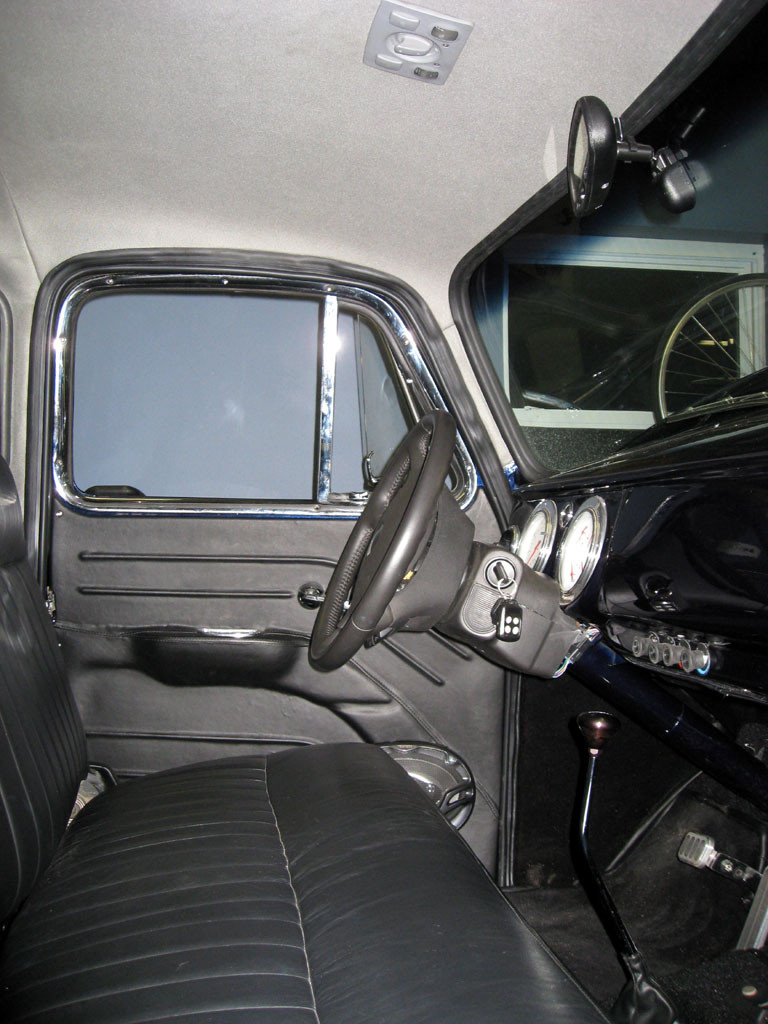
Steering wheel -
I recently purchased a 2007 Impala SS
wheel/column with the assistance of a friend. It has it all!!!
Here is an example.
The biggest issue I had is attaching the airbag cover to the
steering wheel. The wheel and cover came without the airbag
(due to selling used items). So I had to make a plate that
would attach the cover to the wheel. Once fabricated, I filled
the void left by the missing airbag with plastic wrapped spray foam.
It firmed everything up nicely.
-
Steering Column - I recently purchased a 2007 Impala SS
wheel/column (with the assistance of a friend). It has it all!!!
Here is an example.
I have rough mounted the column and need to remove a fair amount of
the plastic on the top piece so it will fit properly against the
dash. Obviously steering columns are much shorter and stockier
than they were in the '50's.
-
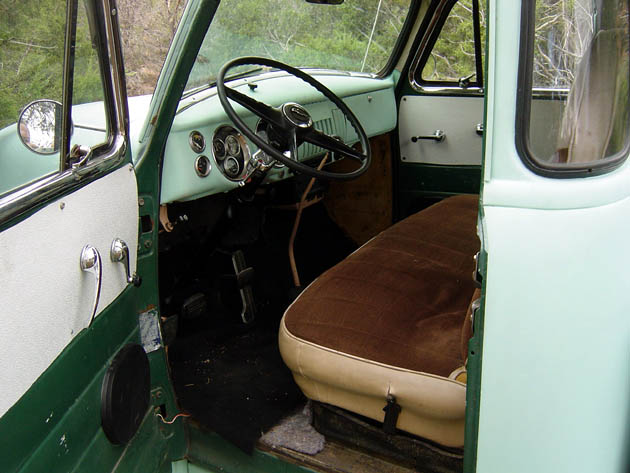
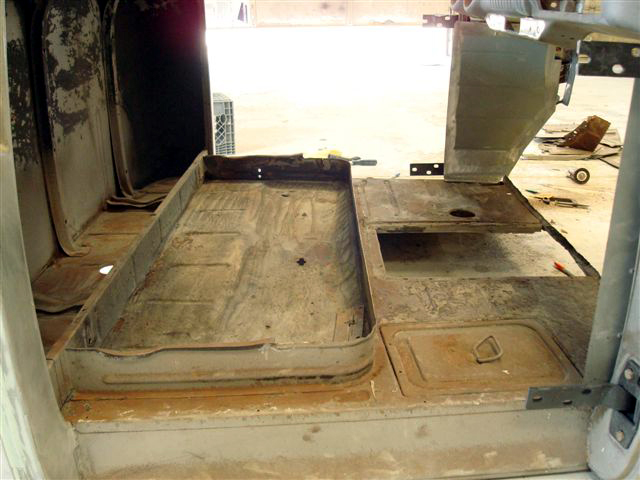
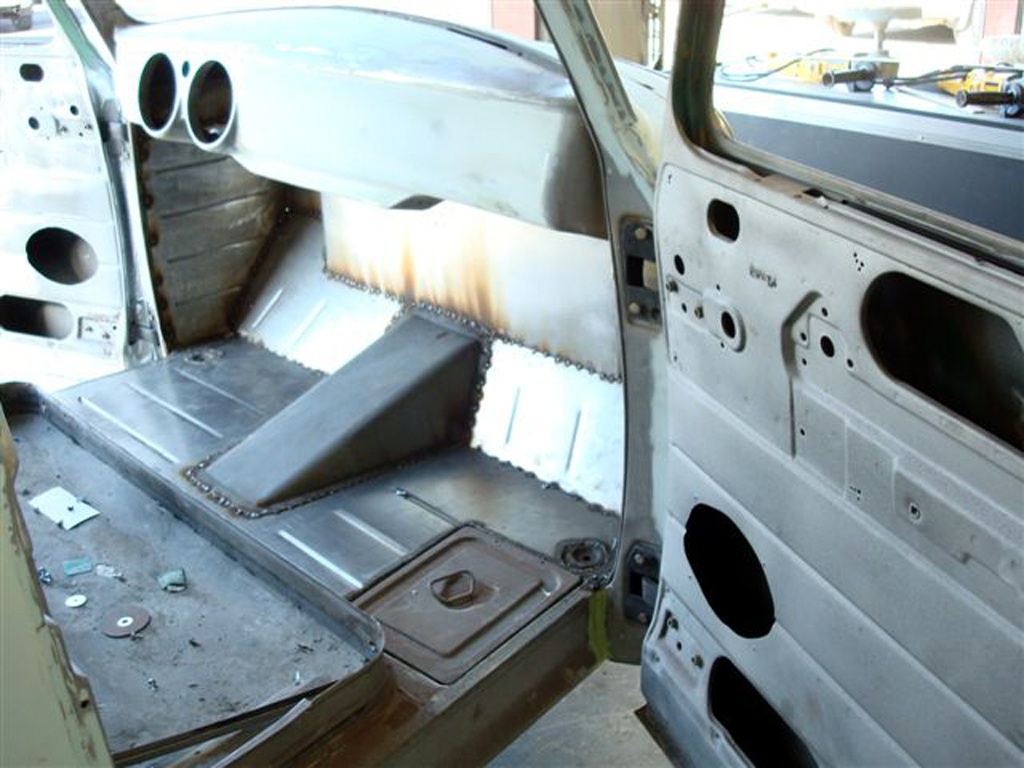
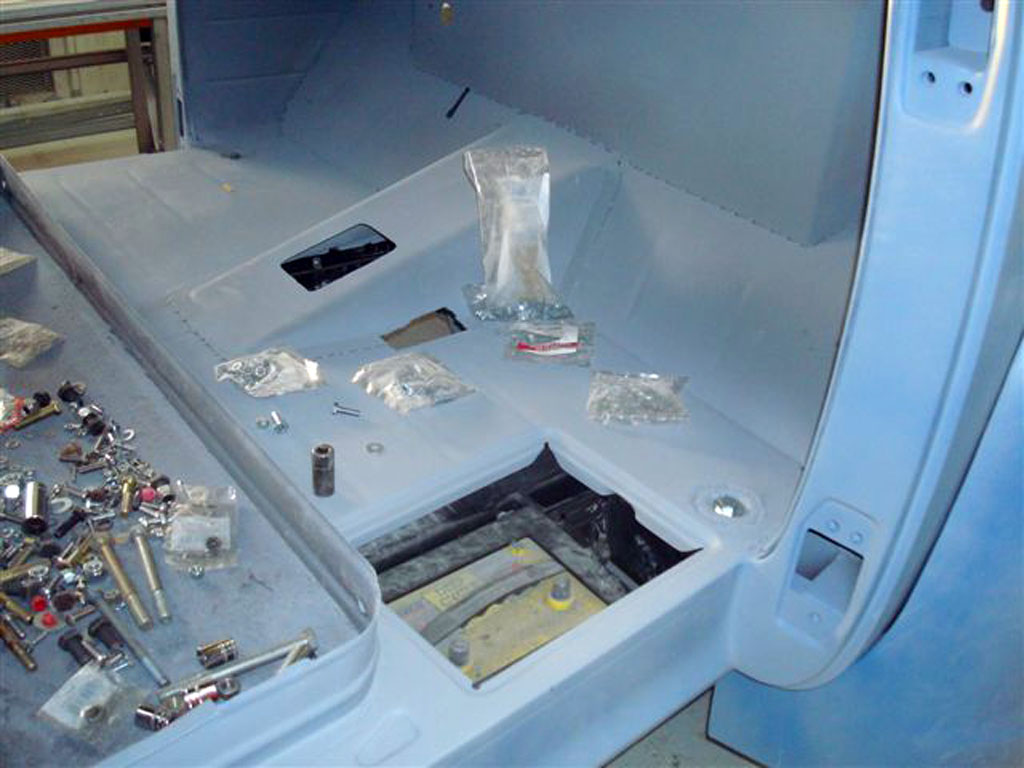
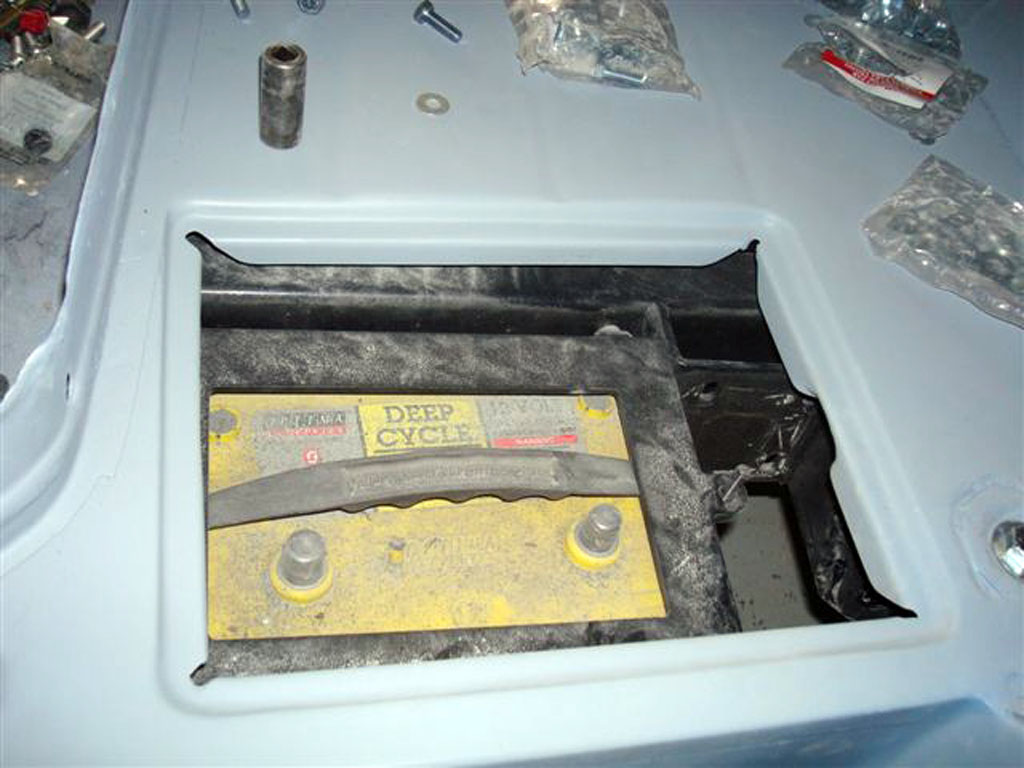
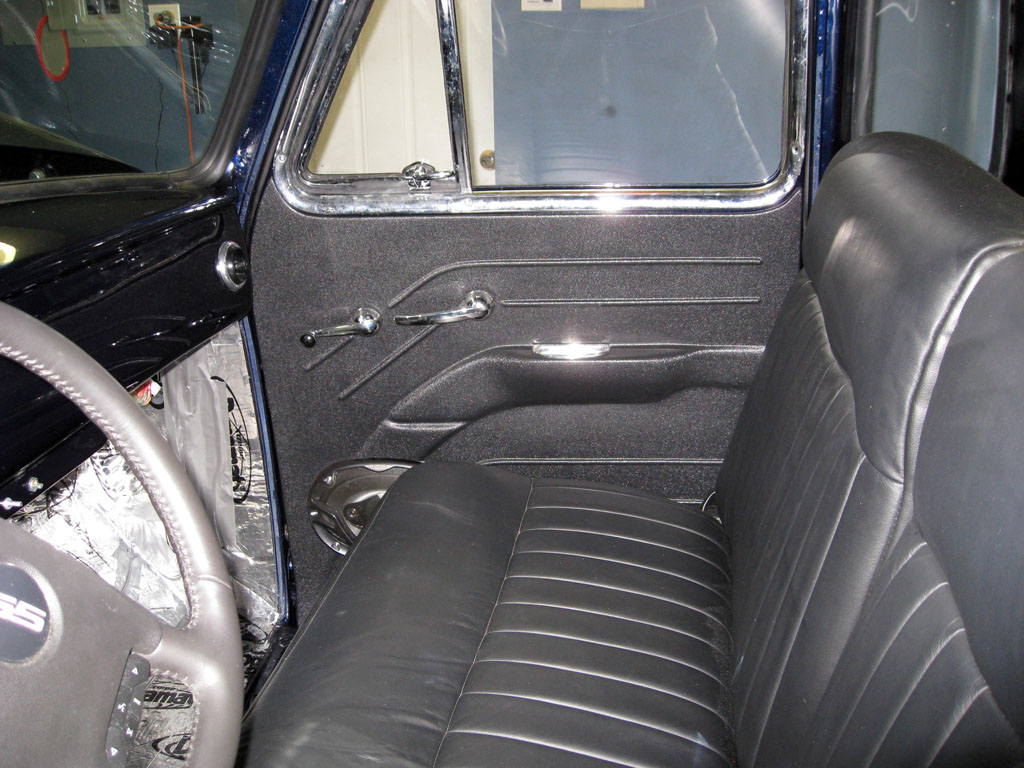
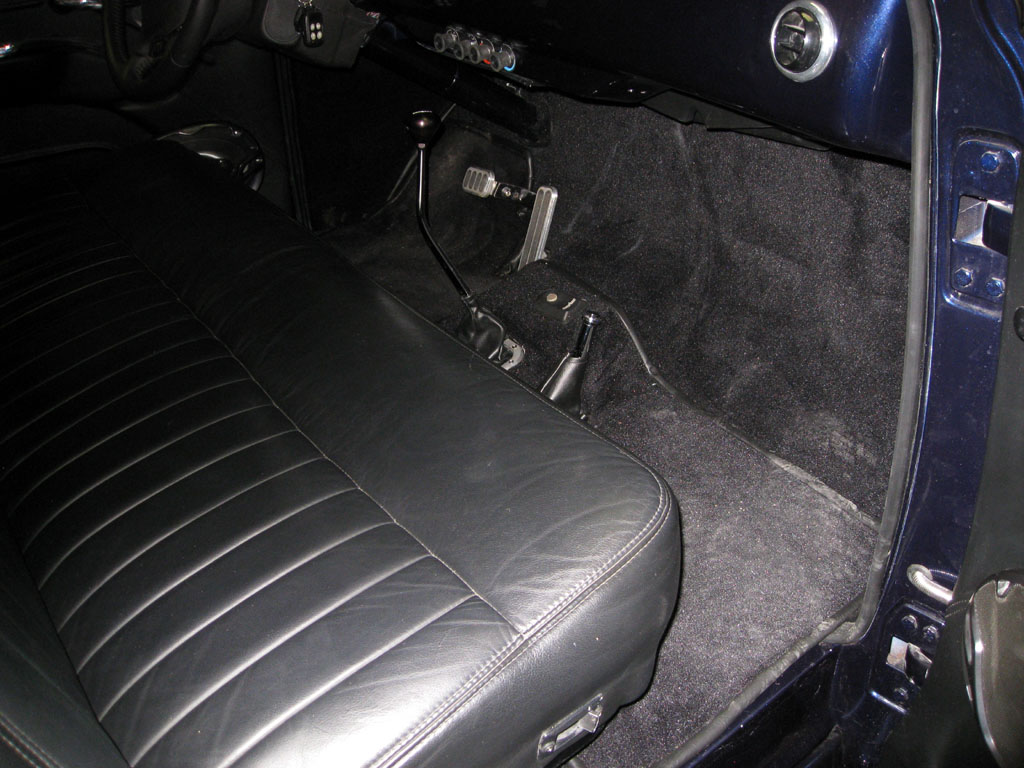
Seat
- from
Glide Engineering
with contoured foam and heaters. Black leather
will cover the entire bench. I have mounted the frame and made
all the customizations necessary for it to function properly.
I am keeping the skirt that encloses the area under the bench.
This way I can "hide" the items that will go under the seat.
-
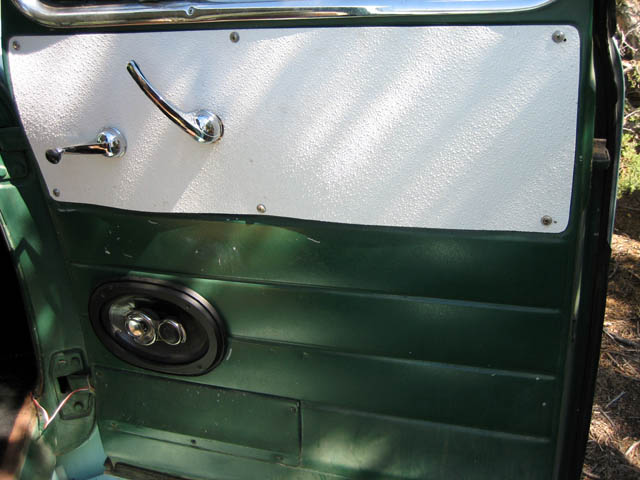
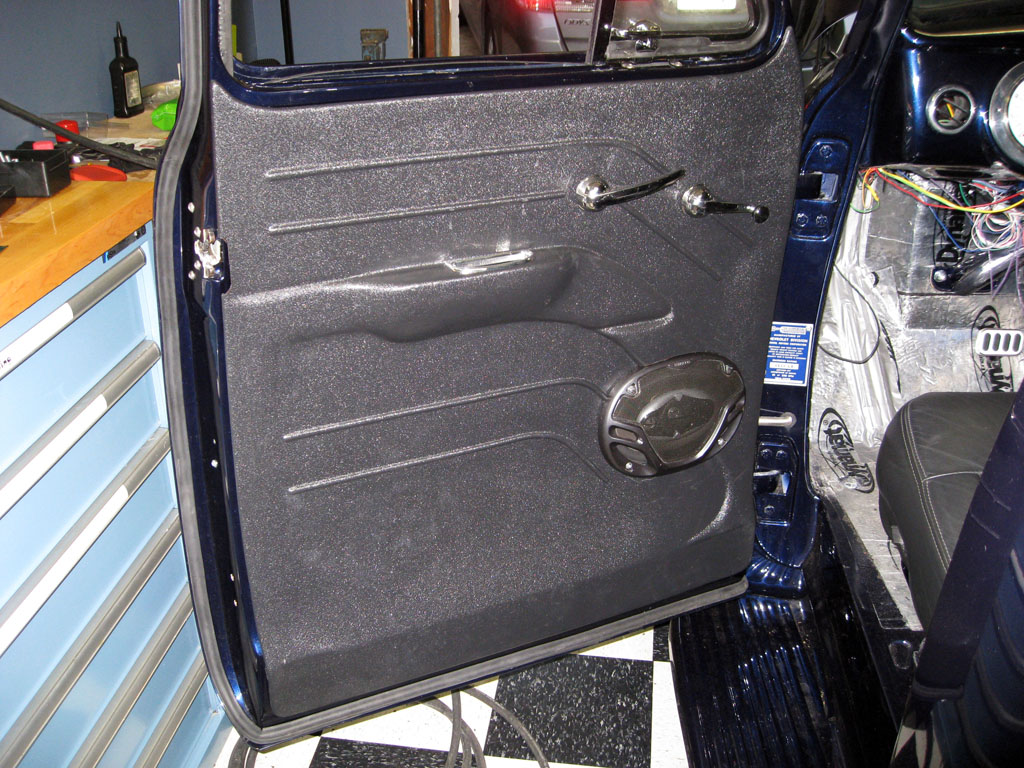
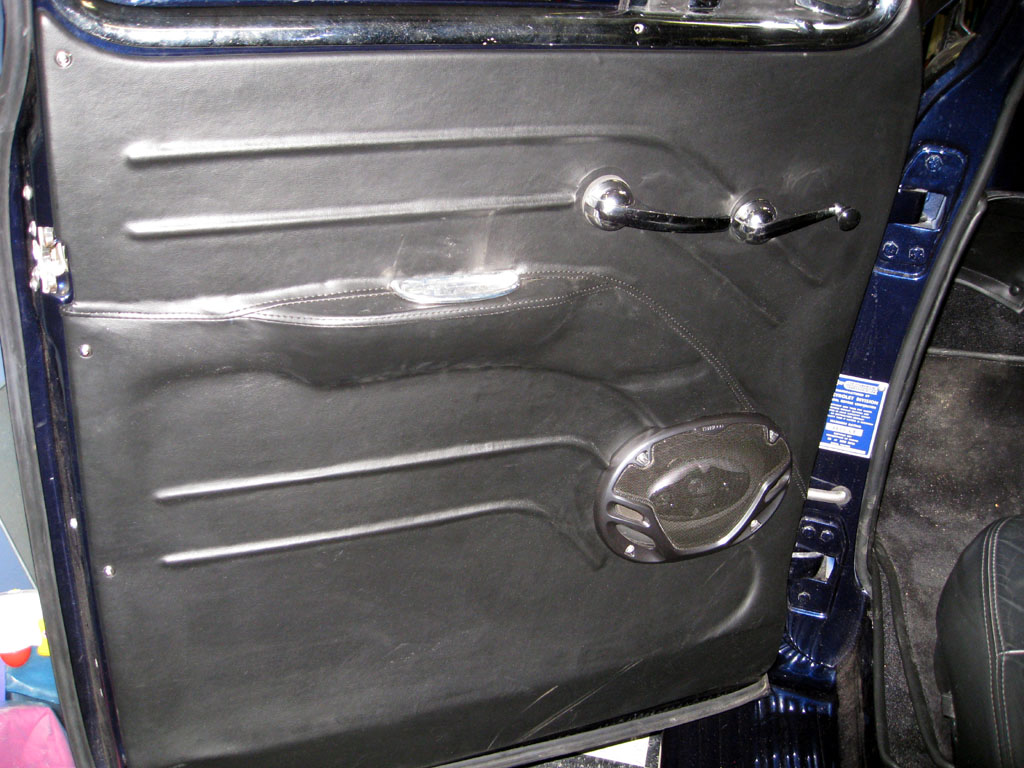
Door -
I know this is a repeat of the exterior
section, but I will be using
shave door handle kit from
Autoloc.
I like this kit over the others because the solenoids have a positive
mount. With the kit I used on my last project, the solenoids move
after so many actuations and it gets old having to adjust them every
month. (The reason for the movement is a single screw used as to
hold the solenoid in place. The way the brackets are
bend/manufactured causes the mount to bend instead of holding the
solenoid in place.)
-
Windows - will be power. I am leaning
towards the controls from Autoloc.
I am also wanting to use their billet door looms and shaved door handle
kits.
-
A/C
- Vintage
Air Gen II Compact 3 Vent Evaporator system. Will be
hidden up under the dash, behind the former glove box. Control
panel will be hidden from plain sight. I am still thinking of
how to route the hoses to/from the condenser and main block. I
would like to keep them out of sight as much as possible.
-
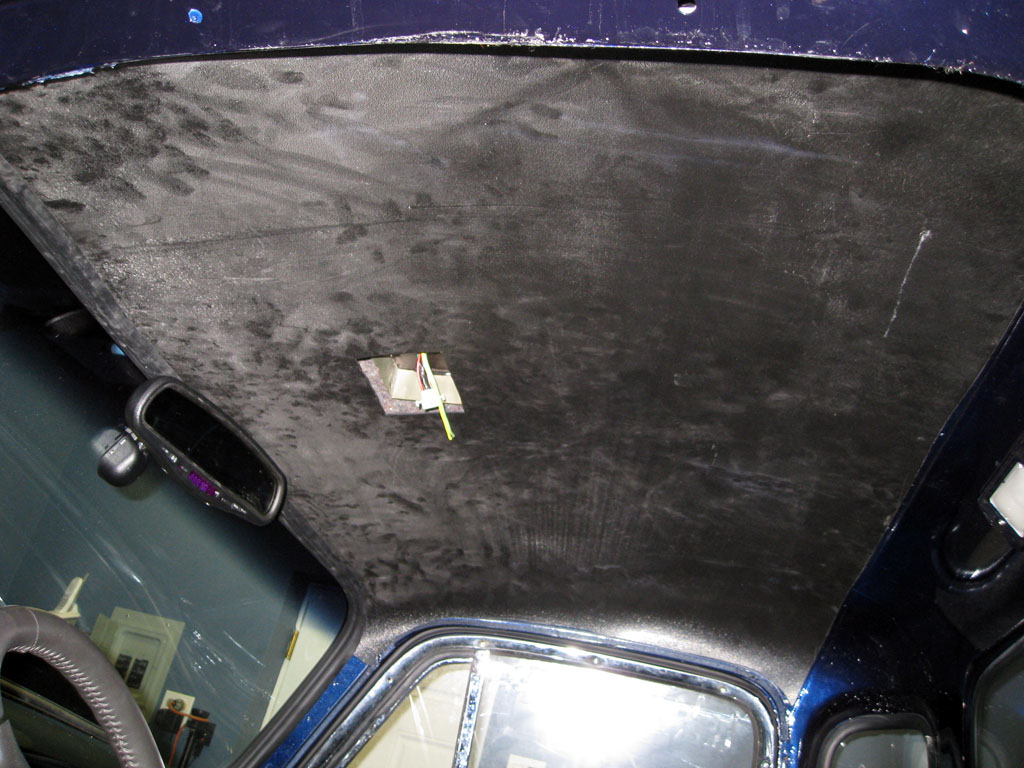
Rear View Mirror - will be
auto dimming with exterior air temperature sensor and compass
-
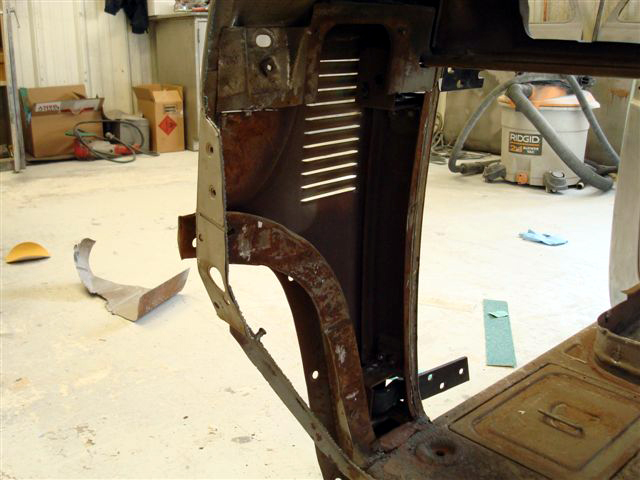
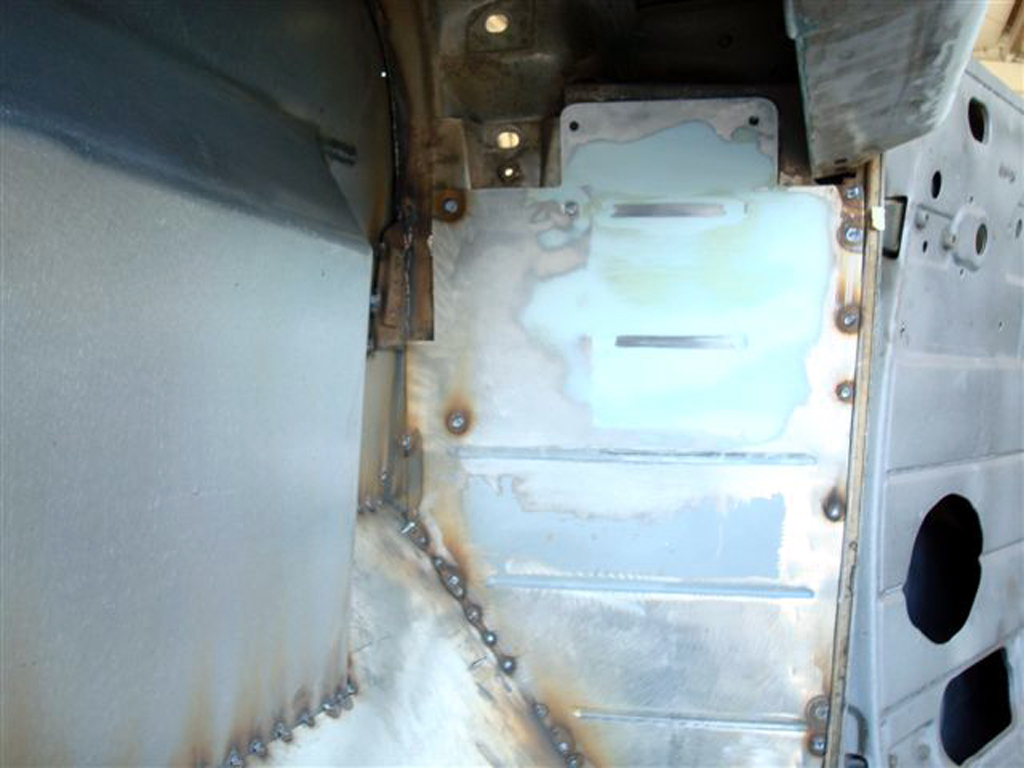
Cowl Vent
- will be powered with the assistance of
Watsons Streeetworks and some custom engineering at
work. The motor is a simple gear device and it only is
intended to spin in one direction. As the cam moves thru it's
range, the cowl is opened and closed. I am going to
incorporate a sun roof controller from an Audi S4 in the headliner
to control this device (along with other things). With the
help of some friends, I am going to use an optical feedback circuit
to control the position of the vent. This is definitely
overkill, but I have a bit of time to kill and I have access to a
machine shop to fabricate and mount the necessary components.
I have fabricated all the mechanical pieces and assembled
everything. Now to figure out the electronics of my plan...